Walkthrough: a ten-column screening run
Step through how the MCS Program coordinates each injection with its column.
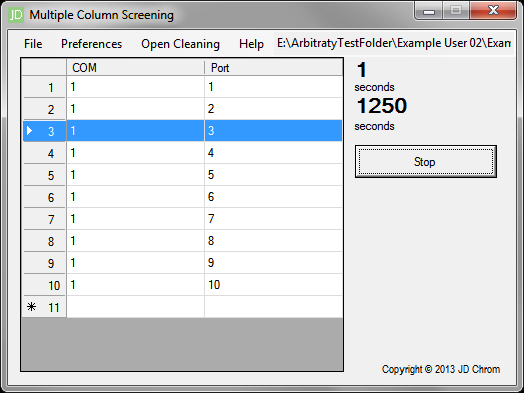
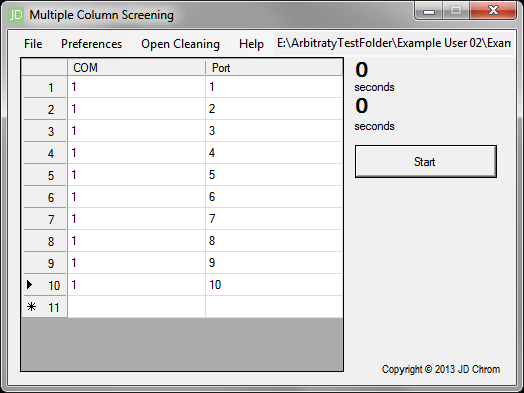
Step 1 of 14
Screening run setup
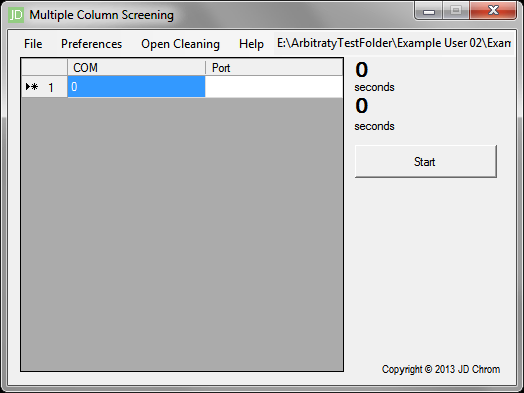
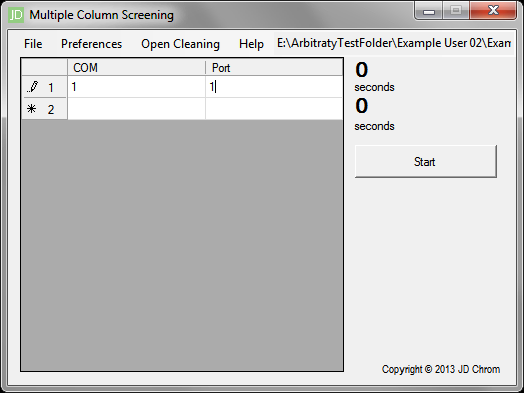
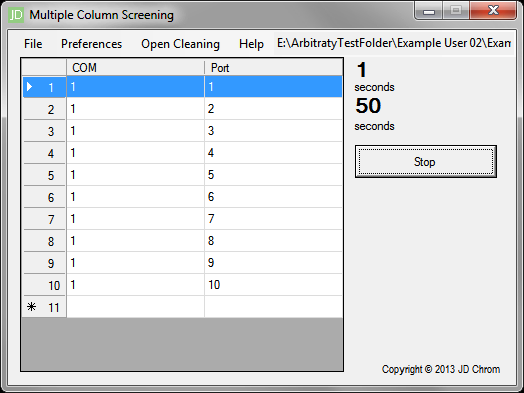
- Coordinate injections with columns by completing the table.
- Line # is the injection the MCS Program will coordinate.
- Line 1 corresponds with Injection 1.
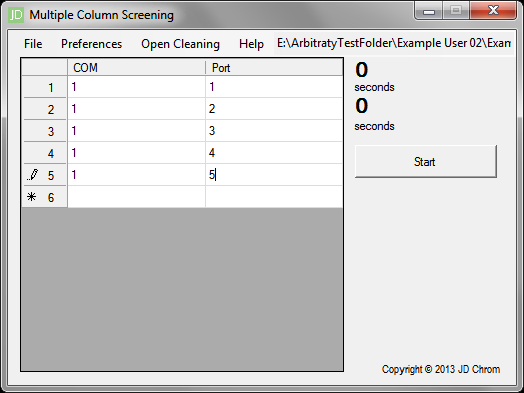
- More lines are added as you complete the table.
- COM # is the Column Selector Unit the MCS Program will command at the time of injection.
- Port # is the port that Column Selector Unit will select at the time of injection.
Overview
As described on the MCCPS System page, the MCS Program efficiently screens multiple columns to accelerate method development. As you make repeated injections of your sample with ChemStation (or an equivalent chromatographic data system), the MCS Program cycles through the columns on the Column Selector Unit. At the end of the run you have chromatographic data for every column. For the full list of features, such as saving and loading configurations, download the MCCPS System user's manual from the Downloads page.
This guide briefly walks through how the MCS Program works alongside your HPLC System:
- Creating a sequence subdirectory in ChemStation
- Completing a sequence table for the screening process in ChemStation
- Defining the folder path of the subdirectory in the MCS Program
- Coordinating injections in the MCS Program
- Starting the MCS Program and beginning the sequence in ChemStation
Creating a sequence subdirectory in ChemStation
In ChemStation's Sequence Parameters window, define the subdirectory where this run's chromatographic data files will be saved.
To coordinate injections with columns, the MCS Program needs to know when the HPLC System makes an injection. A dedicated subdirectory gives it a folder to watch for the new folders ChemStation creates for each sequence line.
Note the file path and subdirectory; you will need them to configure the MCS Program. In this example the path is C:\Chem32\1\DATA\OJ-TEST-NEW-3.
Completing a sequence table in ChemStation
For a screening process of ten injections into ten different columns, complete a sequence table with one injection per line. Each line must be set to 1 injection per vial and have a unique data file name.
When ChemStation starts a sequence line, it creates a folder inside the subdirectory named after the data file parameter, holding all the chromatographic information for that line.
The MCS Program watches the subdirectory for these new folders and uses their creation as the trigger to coordinate each injection with its column. Unique data file names therefore serve two purposes: they prevent data being overwritten and ensure injections are coordinated correctly.
Defining the folder path in the MCS Program
With ChemStation set up, configure the MCS Program to watch it. Click Preferences › Set Folder Path, then in the Browse for Folder window select the subdirectory you defined earlier.
Coordinating injections in the MCS Program
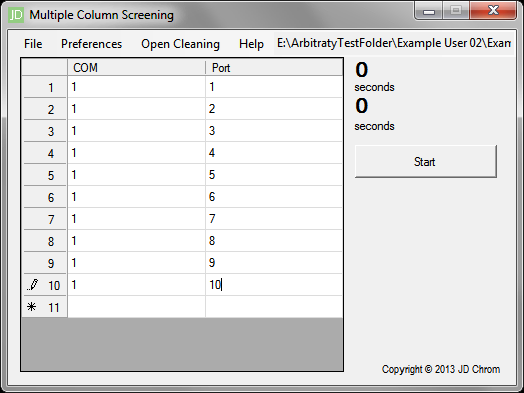
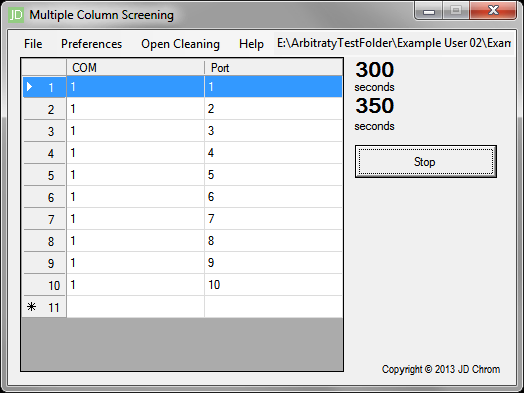
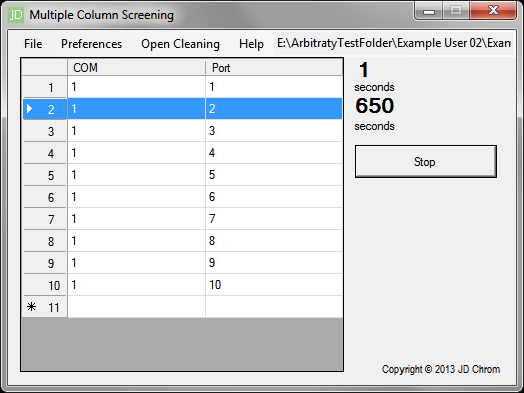
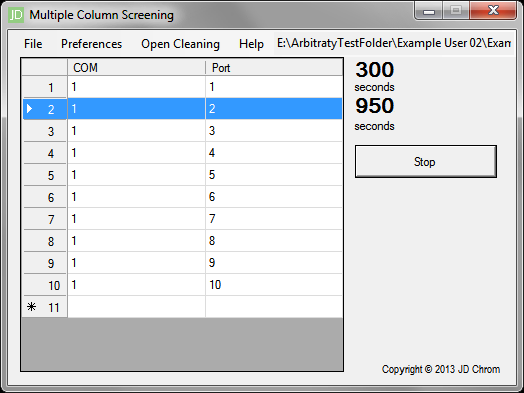
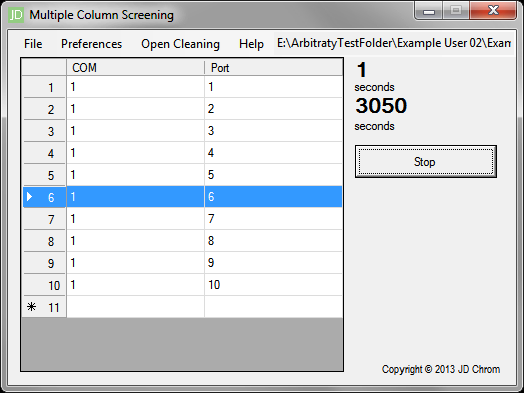
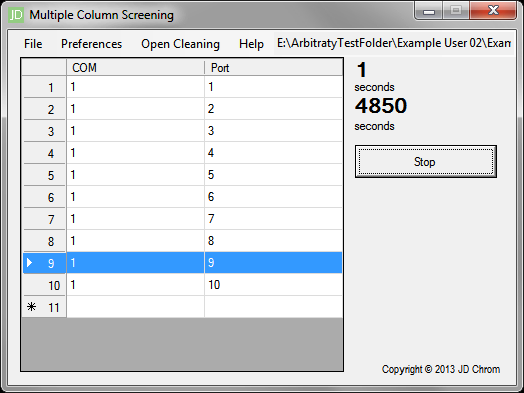
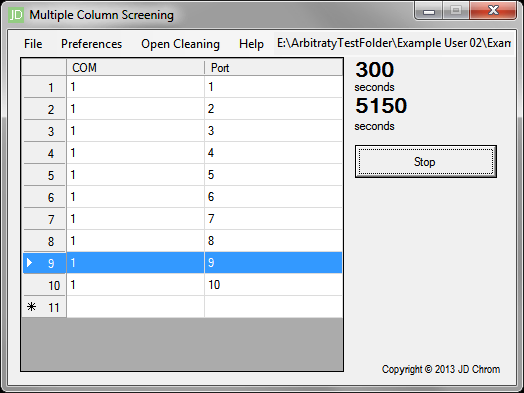
Next, coordinate column selection with injections by filling in the table in the MCS Program (see the images below):
- The left-most column is the injection number you are coordinating.
- The COM-# column defines which Column Selector Unit receives commands. Most users have a single unit, and its COM number becomes clear during installation.
- The Port-# column defines which port on that unit the injection flows through.
In this example, the first injection (COM-1, Port-1) flows through the CHIRALPAK® IA column, the second (COM-1, Port-2) through the CHIRALPAK® IB column, the seventh (COM-1, Port-7) through the CHIRALCEL® OJ-H column, and so on.
Starting the MCS Program and the ChemStation sequence
ChemStation's sequence table is now configured, the subdirectory for the injection data is defined, and the MCS Program is watching that subdirectory and set to route each injection through its column.
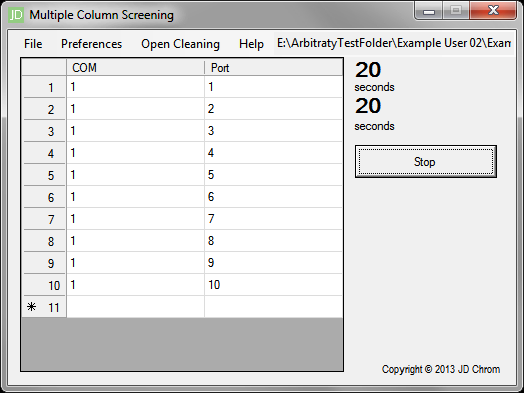
To begin, start the MCS Program first, then start the sequence in ChemStation. Starting the MCS Program first means it is already watching for ChemStation's actions and can respond to each one.
As the HPLC System makes its injections, the MCS Program coordinates the flow. When the run completes you have ten chromatograms of your sample, each through a different column, in the subdirectory.
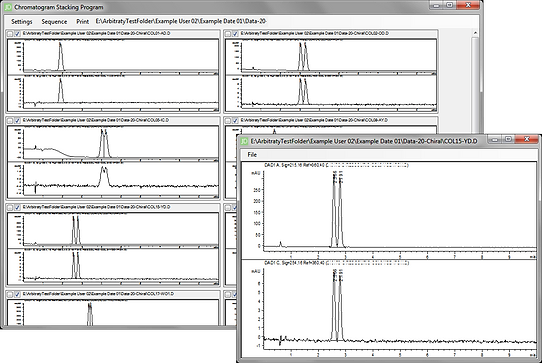
Use the Chromatogram Stacking Program to view all ten chromatograms at once and speed up your method development even further.