Description
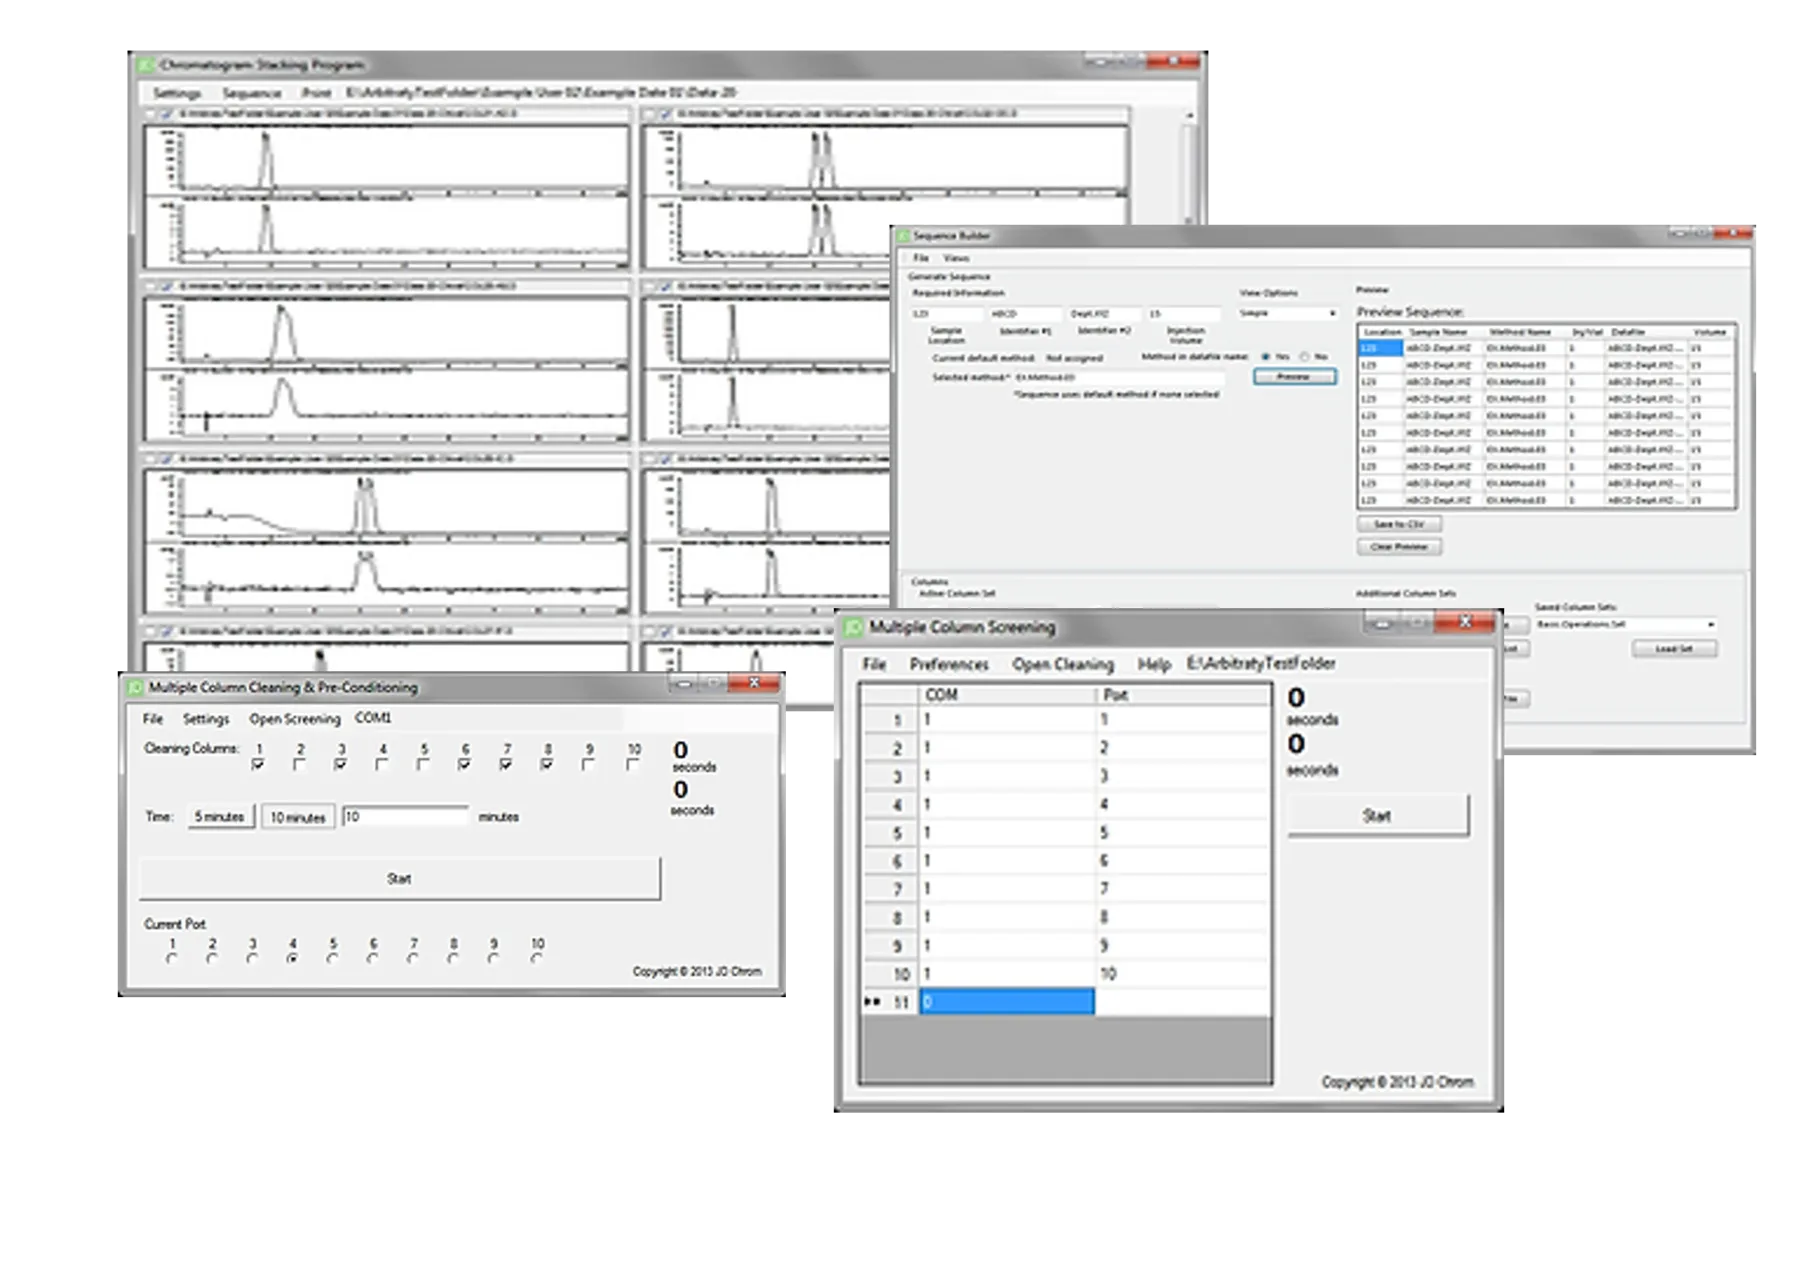
The Chromatogram Stacking Program gives you an easy way to quickly view, compare and share chromatograms during method development. It is great as a standalone product, and gives an even greater boost to productivity alongside the MCCPS System. For the full list of features, download the Chromatogram Stacking Program user's manual from the Downloads page.
This guide briefly walks through how to use it:
Loading chromatograms
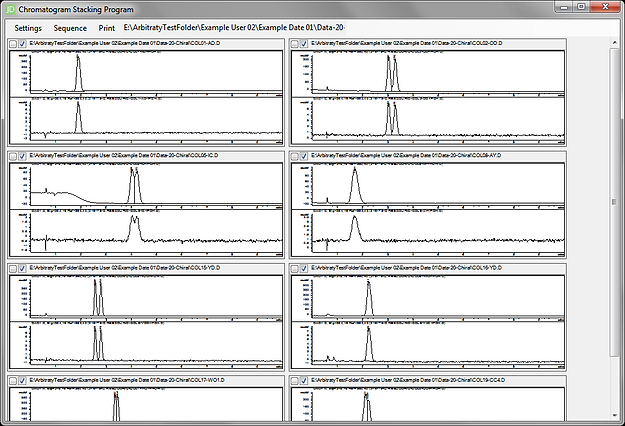
In this example, a screening process across 20 chiral columns is complete and you want to stack the chromatograms to find the best separation.
When the program opens, the Display Window is empty. To populate it, browse for the folder holding the injection data for the screening run: click Sequence › Browse to open the Browse For Folder window and select the subdirectory with the injection information.
Once the folder is selected, the program orders the injection folders alphanumerically and displays the chromatograms in that order. Resizing the Display Window is recommended: you can view up to three chromatograms per row (screen resolution permitting), ordered left to right. Below, 20 chromatograms are loaded with two per row.
Managing chromatograms
To help you compare, the program gives you options to manage the chromatograms in the Display Window: hiding, removing and expanding them.
Each chromatogram window has two boxes to the left of its file path, shown enlarged on the right below. We'll call them the CheckBox and the SolidBox; they are used to hide and remove chromatograms.
Hiding chromatograms
It can help to hide chromatograms that fail to meet certain standards. Uncheck a chromatogram's CheckBox to hide it. Its position in the order is preserved; check the box again to bring it back for review.
Removing chromatograms
You can also remove chromatograms entirely. Click a chromatogram's SolidBox to remove it from the Display Window; its position is not preserved. To review it again, reload the files from the subdirectory with Settings › Reload. Below, only 5 of the original 20 chromatograms remain.
Expanding chromatograms
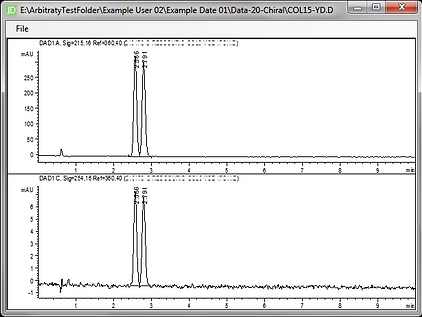
To zoom in on promising chromatograms, double-click one to open it at full resolution in a Pop-Out Window. Stretch the window to enlarge the image further.
Printing chromatograms
To make sharing easy, you can print chromatograms from the Display Window or a Pop-Out Window. Skip the paper entirely if you like: printing to Microsoft OneNote or the Microsoft XPS Document Writer creates a digital copy.
Printing from the Display Window
First choose which chromatograms to print. Print sends every chromatogram in the Display Window, including those hidden with the CheckBox. To print only the ones you want, remove the others with their SolidBox.
Then choose how they are laid out. The Print menu has two settings:
- 1 per page: a larger image with greater detail
- 10 per page: smaller images for straightforward side-by-side comparison
Choose Print Chromatograms from the Print menu to open the Print Window and pick a printer. Options include:
- Your installed physical printer prints a hard copy.
- Microsoft OneNote creates a page in your chosen notebook containing every chromatogram page.
- Microsoft XPS Document Writer creates an XPS file (Microsoft's equivalent of a PDF) of every chromatogram page.
Printing from the Pop-Out Window
With a chromatogram expanded in a Pop-Out Window, choose how it fills the page. There are two settings:
- Original aspect ratio maximizes the chromatogram for the greatest detail while keeping its height-to-width ratio.
- Stretch to fill page maximizes the chromatogram to fill the entire page.
Choose Print from the File menu to open the Print Window and pick a printer. Options include:
- Your installed physical printer prints a hard copy.
- Microsoft OneNote creates a page in your chosen notebook containing every chromatogram page.
- Microsoft XPS Document Writer creates an XPS file (Microsoft's equivalent of a PDF) of every chromatogram page.